Haynes How-To: change a car wheel
Safety at the roadside
Sections
- Staying safe when changing a wheel
- Keep a high-visibility vest in your car
- Work on a stable surface
- Switch on the hazard warning lights
- Consult the vehicle handbook
- What you’ll need
- How to change a wheel, step-by-step
A PUNCTURE, pothole or unforgiving kerb can strike at any time. More often than not, however, it will be when it’s dark, raining and you’re nowhere near civilisation, which means you’re nowhere near a tyre fitter.
Drivers that don’t belong to a breakdown service, or lack any cover through their vehicle’s warranty, should know how to change a wheel. And that means checking that their vehicle has the correct equipment stored onboard at all times.
Here’s what drivers need to know to stay safe and successfully change a car’s wheel.
Browse NEW or USED cars for sale
Staying safe when changing a wheel
There are some strict dos and don’ts around changing a wheel and tyre. That’s because you will be exposed to traffic in close proximity and are at risk of being struck by another vehicle. Equally, your car could slip from its jack, meaning a risk of injury.
The most important rule is to not attempt to change a wheel on a motorway or at the side of a busy road. Either use the emergency phones or your mobile to call for assistance, which will see you moved to a safer location, or move the vehicle well away from the road and passing traffic, such as to a driveway or layby.
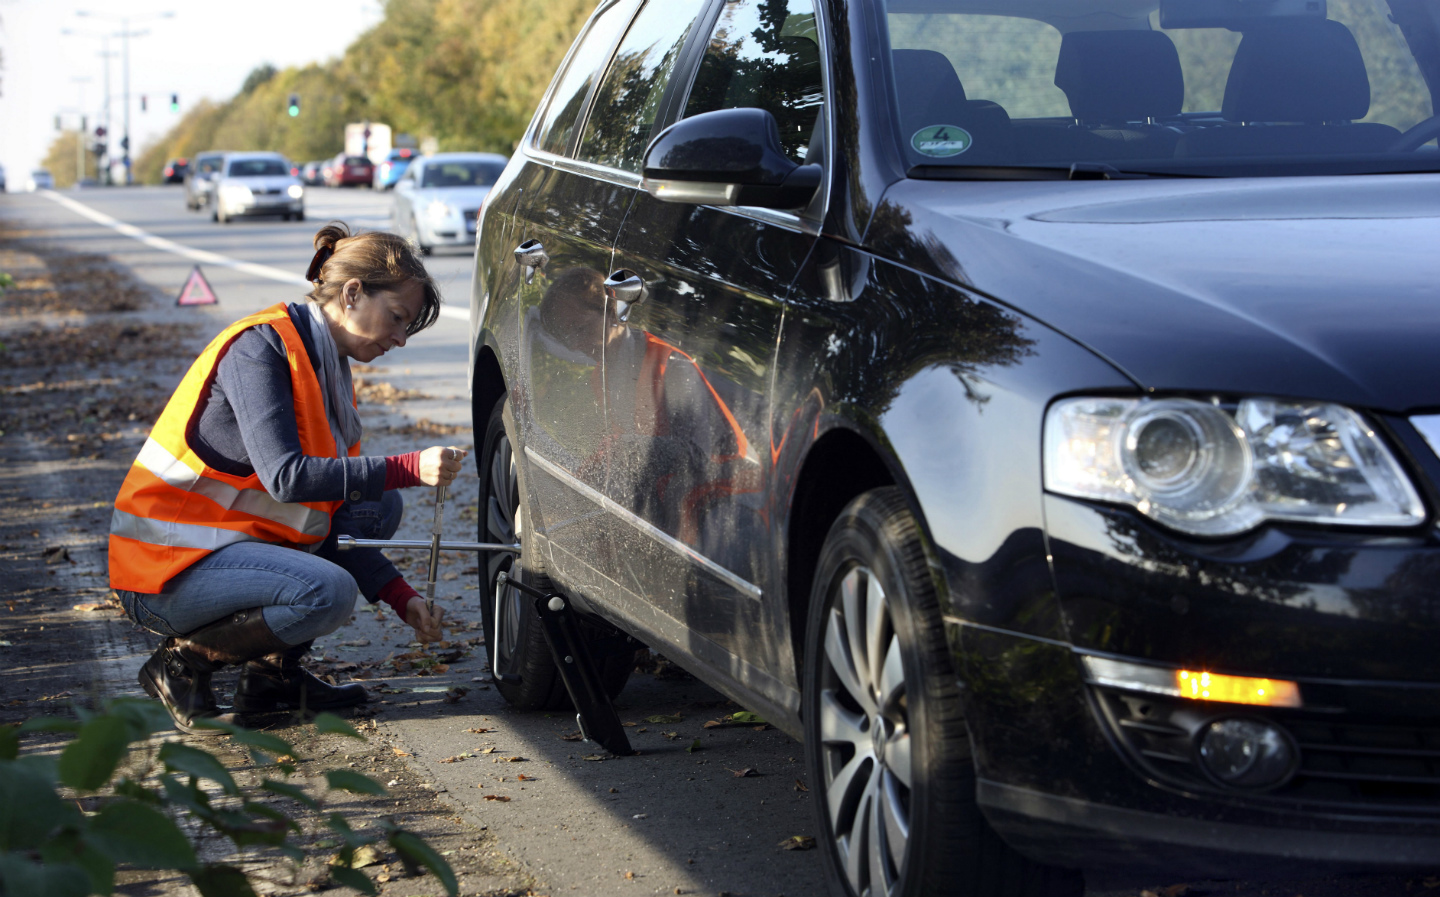
Keep a high-visibility vest in your car
The moment your car breaks down is the moment you need to make sure you’re visible to other drivers. Walking or working around a car, especially at night, leaves you vulnerable to being struck by another vehicle. So keep a high-visibility vest in your car’s glovebox and put it on before exiting the vehicle. They cost from less than £2 and could save your life.
Work on a stable surface
Ensure the vehicle is stopped over a level surface that is stable. A solid stretch of asphalt, such as a car park or driveway, is ideal.
Switch on the hazard warning lights
You’ll need to let other road users know that your vehicle is stranded and presents a hazard, so turn on the car’s hazard warning lights and also consider keeping the side lights on if ambient light levels are low.
Consult the vehicle handbook
This will tell you where the tools are stored onboard your car, and details the location of the jacking points beneath the vehicle.
What you’ll need
- High-visibility vest
- Torch (for night)
- Reflective warning triangle
- Gloves or wet wipes (to keep your hands clean)
- Chocks for the wheels
- Jack
- Wheel wrench/brace
- Spare wheel or space-saver wheel
How to change a wheel, step-by-step
- The spare wheel and tools are usually stored in the car’s luggage compartment. However, on some vehicles the spare wheel is underneath the car
- Remove the tools and any reflective warning triangle
- Place the reflective warning triangle further along the road, if you are unable to park the vehicle off the road
- Remove the spare wheel by slackening any retaining nut and plate, and lift it from the luggage compartment
- Place a wheel chock behind or in front of the wheel diagonally opposite to the one to be removed
- Remove the existing wheel’s trim or hub cap (if applicable) then use the wheel wrench to slacken each wheel bolt by a half turn. You will remove them only once the car is raised on the jack
- If anti-theft wheel bolts are fitted, they can be slackened using the adapter supplied in the tool kit
- Place the head of the jack under the jacking point nearest to the wheel that is to be removed (as identified in the vehicle handbook), ensuring it is on stable ground
- Begin to raise the jack, turning the handle clockwise. The head must enter the recess in the jacking point
- Continue to raise until the wheel is clear of the ground
- Unscrew the wheel bolts and remove the wheel
- Fit the spare wheel and screw in the bolts. Lightly tighten the bolts with the wheelbrace then lower the vehicle to the ground, by turning the jack handle anti-clockwise
- Securely tighten the wheel bolts in the sequence shown then refit any wheel trim/hub cap
- Remove the wheel chock on the opposite side of the car
- Stow the punctured wheel and tools back in the luggage compartment and secure them in position using the retaining nut and plate
- Note that the wheel bolts should be slackened and retightened to 100 Nm (74 Ibf ft) at the earliest possible opportunity
For more Haynes guides, go to driving.co.uk/car-clinic/haynes-how-to/